Wondering how to make antique banners using tea for a themed party or parade float? I came up with this easy DIY project for my Hamilton party and thought I would share the technique with all of you! You’ll need muslin fabric, black tea, a grommet kit, and fabric paint.


First I wanted to make the muslin fabric look like it’s been around for while. I dyed it using black tea from my grocery partner, Kroger DFW. I only wanted it to look slightly aged but you can keep the fabric in the tea overnight for a darker effect.


Once the fabric had dried (don’t panic if it looks quite dark – it dries MUCH lighter), I cut the fabric into several long banners and a couple of short banners. I only ended up using three for my Hamilton party but I saved the extra banners for future parties!


Next, we used a grommet kit to punch holes into each banner for easy hanging. My grommet kit came with both silver and gold hardware and I have to say, I don’t know how I was getting by without a grommet. I’ve used it for two other projects since buying it for this one!


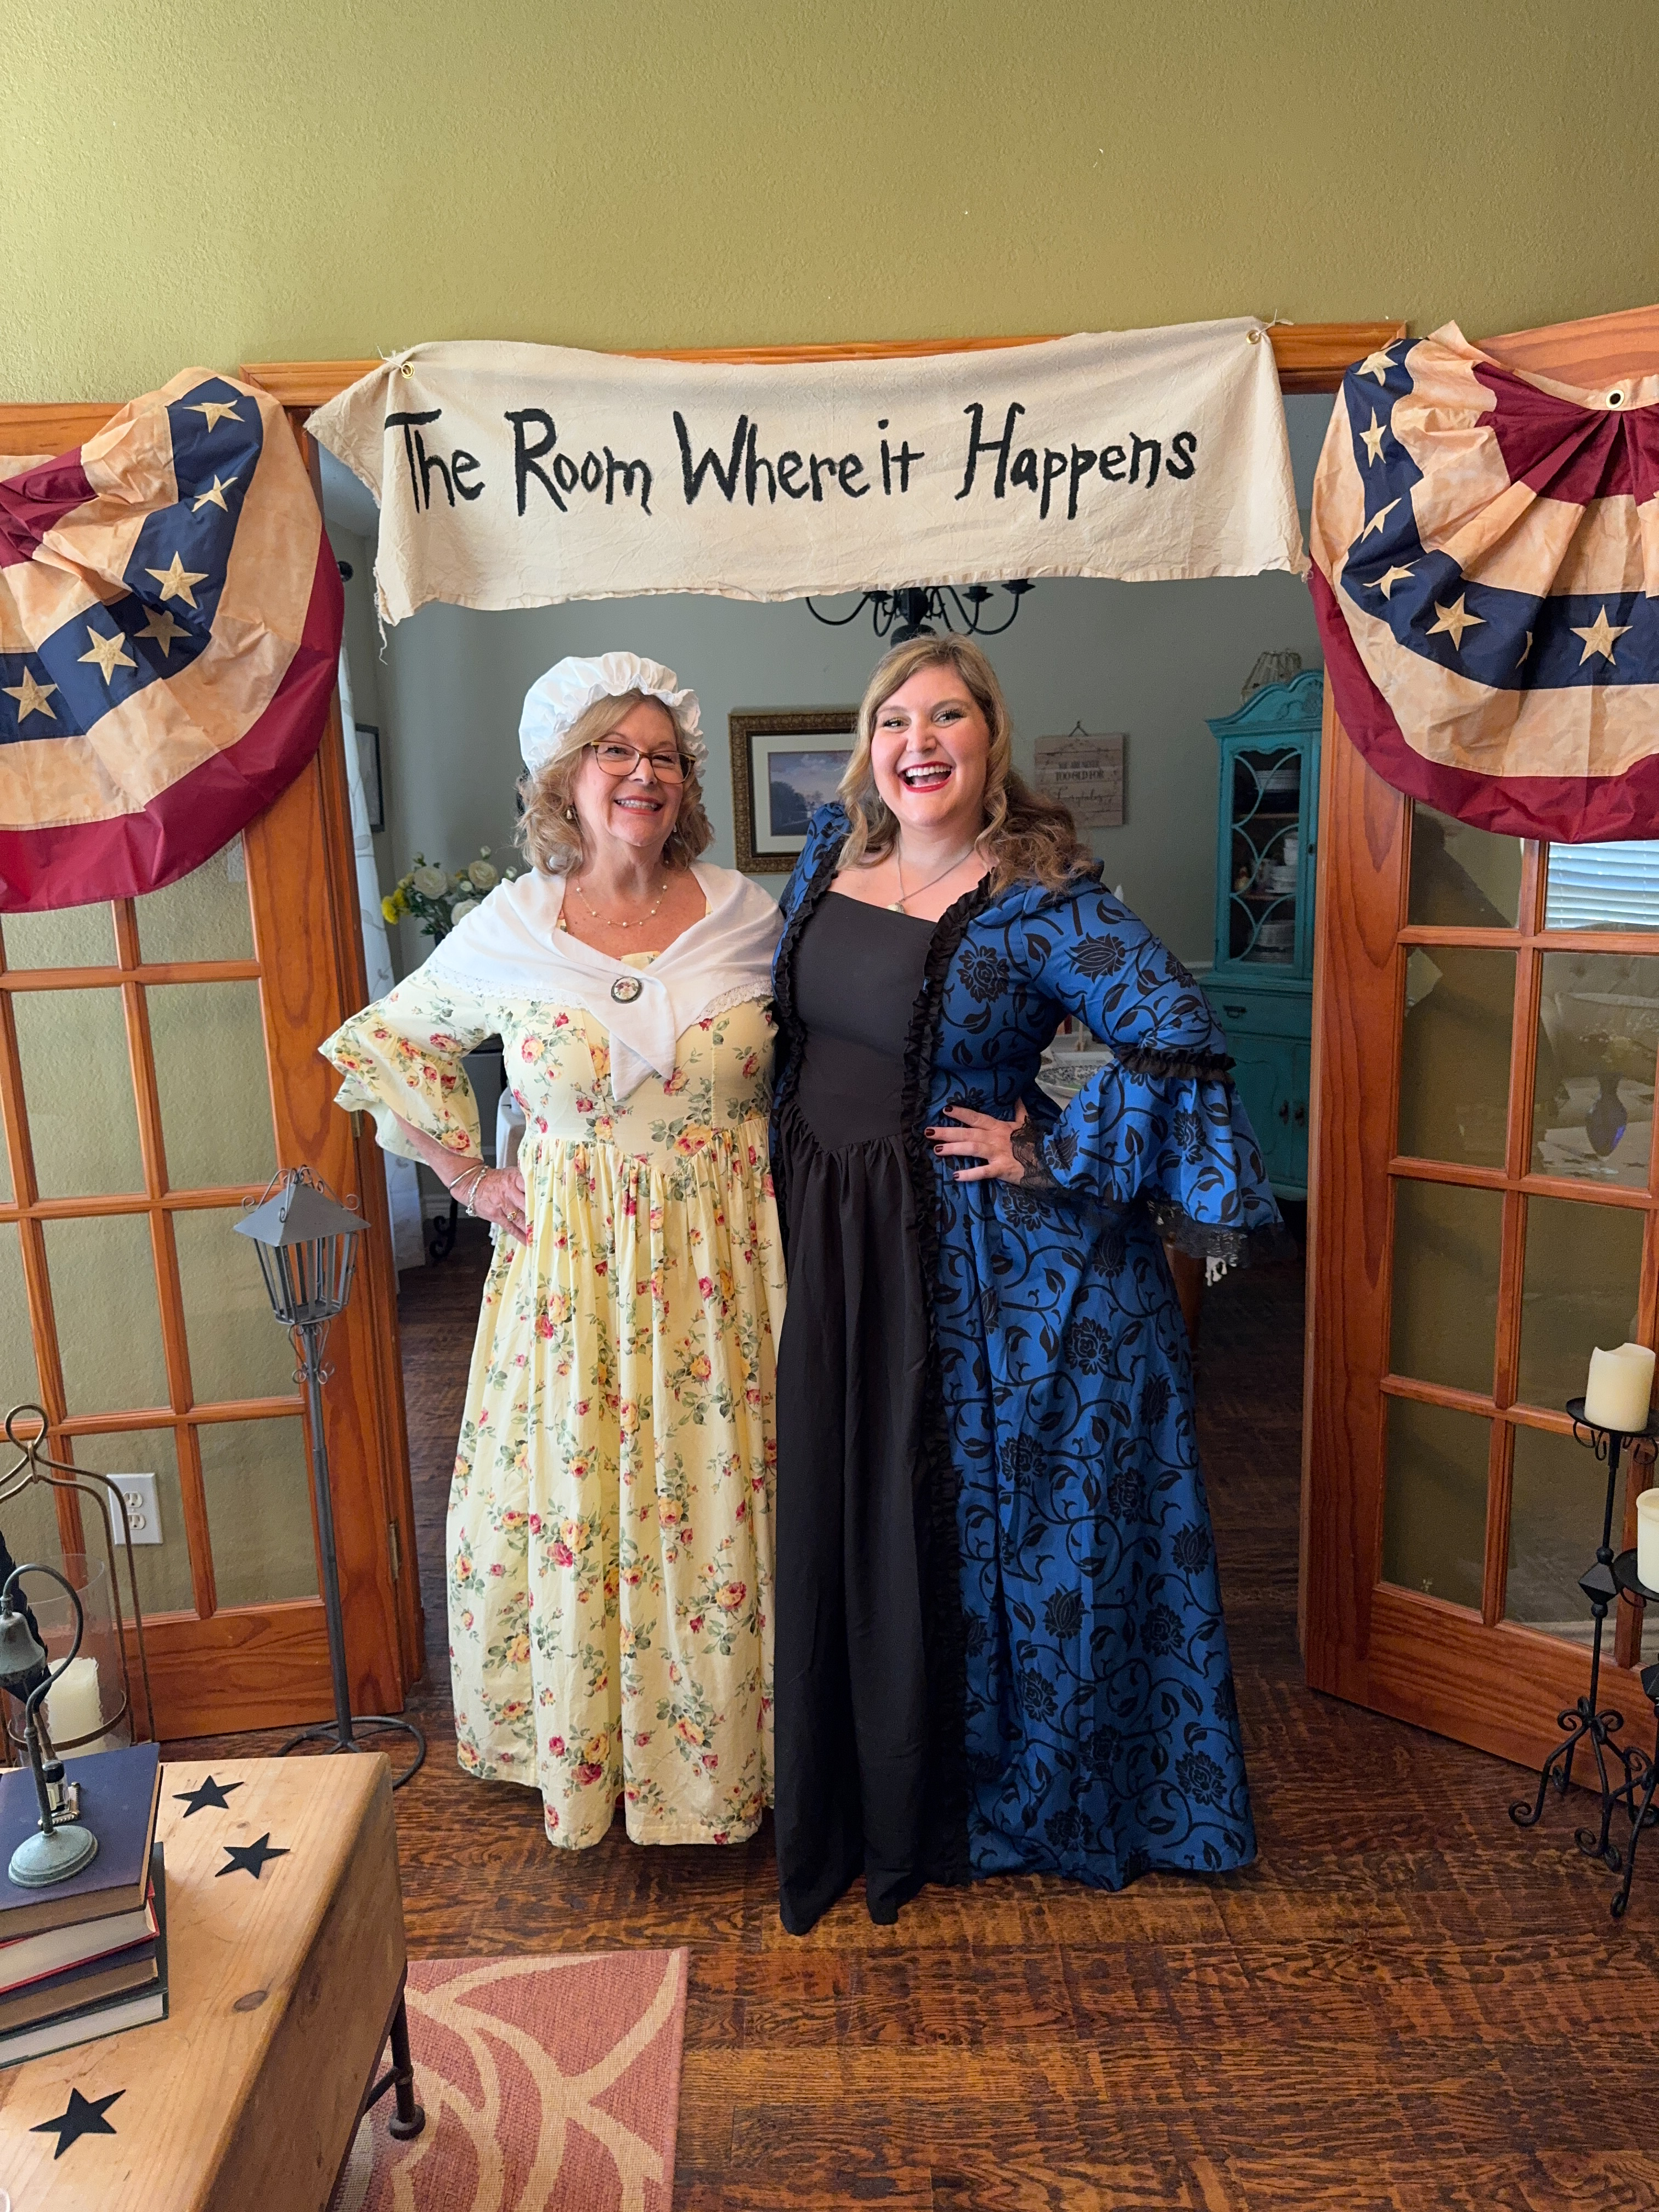
Now it’s time for the fun part: painting! I used black fabric paint and a 1″ paint brush to paint Hamilton lyrics on my banners. I went with, “The Room Where It Happens” for the hero banner in front of my dining room, “Tell Your Story” for a mirror photo op and “I’m Not Throwin’ Away my Shot” for the drink table. Take your time and stamp the paint on rather than using brush strokes. Then hang them up and ooh and ahh!


I love what a custom look these banners gave my party. I’m not very crafty so I’m quite proud of myself for making these! I hope this post inspires you to take on your own DIY project.
Happy crafting,
Don’t forget to follow The Rose Table on Facebook, Twitter, and Instagram! Sign up for The Rose Table’s emails here. Get The Rose Table Cookbook here. Shop my merch here.
Leave a Reply